.
First time use
To use your Arduino, you'll need to do three things:
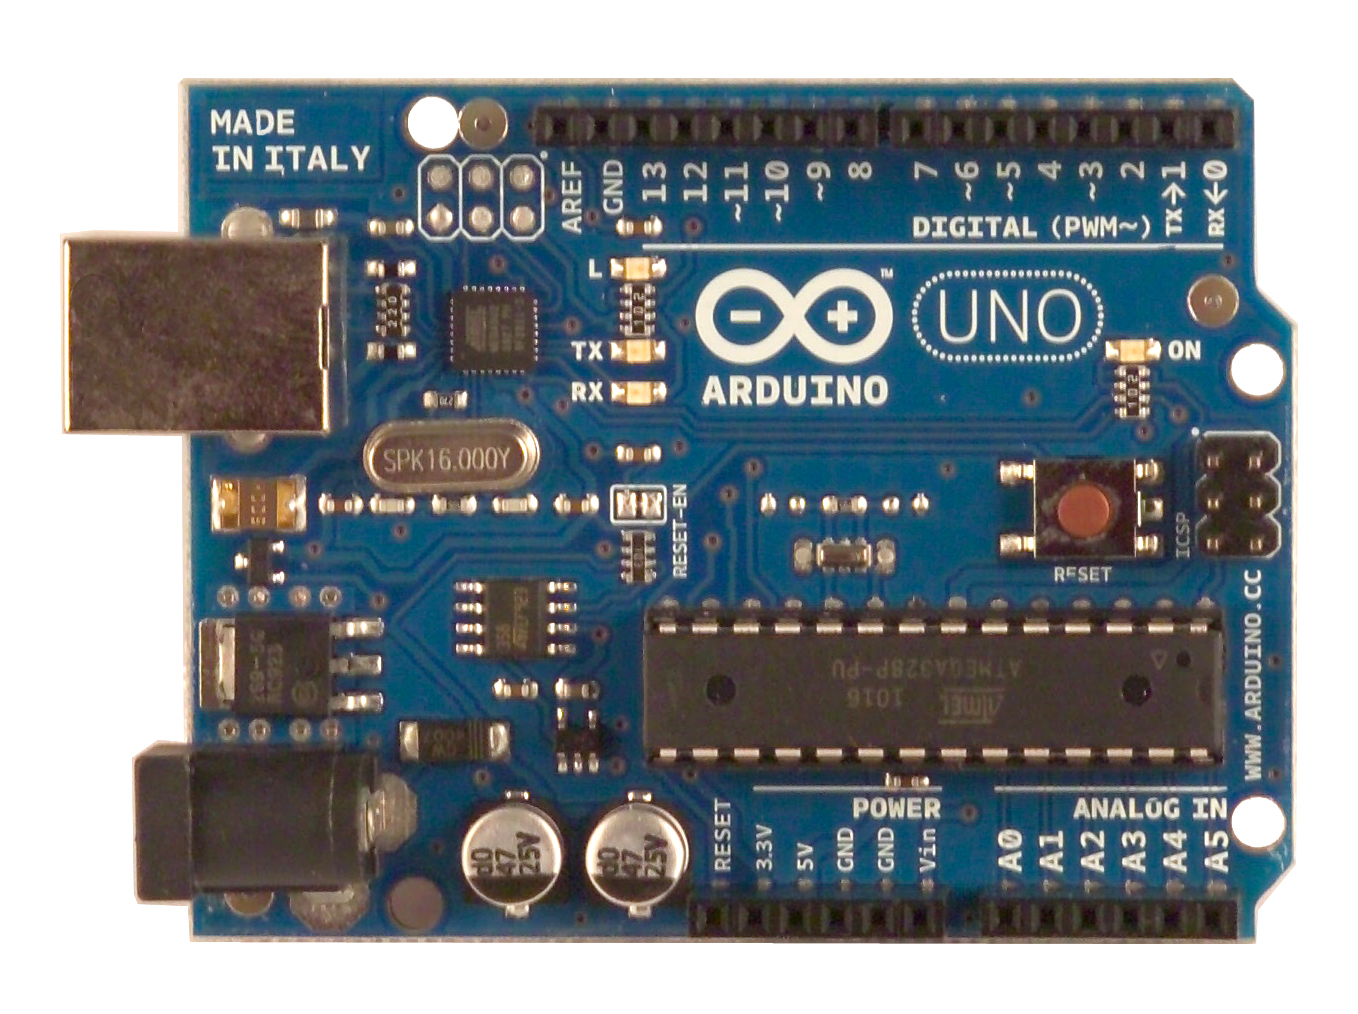 |
| The Arduino Uno |
Second, you'll need to install the drivers. Visit arduino.cc and click "Getting Started" and then your operating system (ex. Windows) for driver information.
Last, open the Arduino IDE (icon with the ∞ symbol) from your unzipped folder and click Tools >> Board >> *your board* (most likely the Uno). If you don't have the correct board selected, you won't be able to use your board.
How to Use
You'll notice two rows of "black things with holes". These are called "headers". Inside is a little clip that will hold the wire that you put inside it. The Arduino uses 22 gauge solid wire. Too thin and the clip won't hold, too thick, and you could damage the clip inside.
The board can be powered three different ways: through the USB, through the DC jack, and via the VIN/GND pins. For most applications, the USB cord should provide enough power for your project. If you are doing something really power intensive or would like to use the Arduino away from a computer, you could use the DC power jack or VIN/GND pins. You need to use a battery/wall wort with a voltage between 6-12V. You need to make sure that the polarization is correct - positive should go into VIN or the inside of the barrel jack.
There are many "digital I/O" pins. These can be used as both inputs and outputs (see the programming section). They operate at 5V. Several of them can be used as PWM (pulse-width-modulation) pins. These are useful for controlling some devices (like servos) and for creating sound.
There are a few "analog" pins. These can ONLY be used as inputs. They will read between 0 and 5V (unless a reference voltage is used) with a resolution of 10 bits (1024). For different reference voltages, please visit here. You will need to be sure to change some things in your code so you don't fry your board. A great tutorial can be found HERE as well.
Very often, you'll have to communicate with a digital device such as an LCD, IC, or a special sensor. This is achieved by using the different communication ports. These are all pretty simple ~ there are tutorials on the Digital Communications page if you are interested.
How to Use
You'll notice two rows of "black things with holes". These are called "headers". Inside is a little clip that will hold the wire that you put inside it. The Arduino uses 22 gauge solid wire. Too thin and the clip won't hold, too thick, and you could damage the clip inside.
The board can be powered three different ways: through the USB, through the DC jack, and via the VIN/GND pins. For most applications, the USB cord should provide enough power for your project. If you are doing something really power intensive or would like to use the Arduino away from a computer, you could use the DC power jack or VIN/GND pins. You need to use a battery/wall wort with a voltage between 6-12V. You need to make sure that the polarization is correct - positive should go into VIN or the inside of the barrel jack.
There are many "digital I/O" pins. These can be used as both inputs and outputs (see the programming section). They operate at 5V. Several of them can be used as PWM (pulse-width-modulation) pins. These are useful for controlling some devices (like servos) and for creating sound.
 |
| Serial LED Matrixes from Sparkfun |
Very often, you'll have to communicate with a digital device such as an LCD, IC, or a special sensor. This is achieved by using the different communication ports. These are all pretty simple ~ there are tutorials on the Digital Communications page if you are interested.
Overview of Hardware
Below is an overview of an Arduino Duemilanove and the Arduino Uno. For other boards, visit http://arduino.cc/en/Main/Hardware
Pins:
14 Digital I/0 pins
6 Analog input pins
6 PWM (part of the digital I/O pins, pins 3, 5, 6 & 9-11)
GND (ground)
VIN (voltage supply, accepts 6VDC to 12VDC)
5V (voltage regulated 5V supply pin)
3.3V (voltage regulated 3.3V supply pin)
RESET (resets when LOW signal is given)
AREF (reference voltage for analog-digital conversion)
Communications:
Serial - pin0 is RX, pin1 is TX
SPI - pin10 SS, pin11 MOSI, pin12 MISO, pin13 CLK
I2C - pin4 SDA, pin5 SCL
Interrupts:
pins 2 and 3
On-board LED
pin 13